Showing posts with label Sweet Baking recipe. Show all posts

Saturday, 12 April 2014

Sour cream, banana and walnut bread

I hate bananas. I think this is well known. Sometimes I eat them but only when I need a fast whack of potassium and I don't feel like a sports drink is a good idea. I can moderately tolerate them as long as they are slightly under ripe and very firm. The slightest hint of an overripe smell turns me, VGirl and Mama Pham off.

Everyone knows what overripe banana mean! IT'S BAKING TIME.

Even I can appreciate a good banana cake. I decided to combine a few ideas based off this Donna Hay recipe. I thought sour cream is a wonderful idea as well as walnuts to add a bit of texture to the whole thing. So here we go with my sour cream, banana and walnut bread.

Its a very heavy, dense thing that is wonderfully moist from the first day. It lasted for a week on my kitchen bench, lightly covered with plastic wrap and it was as moist and flavour some on the first day as the seventh. I was still on holiday and didn't manage to finish it by myself. I bought a big chunk of it to my night shifts and it was gone before I knew it. I made another cake the next week and it disappeared before my eyes, with several of the girls asking me for the recipe.

I think this cake is one of those super easy cakes that you can chug out in about ten minutes, barring baking time. It doesn't really matter how you do it, as it all mixes up pretty much the same. The first time I made it like the method below, the second time I made it, I creamed butter and sugar together, then add the wet stuff together and then the dry. The second time was much denser and that was the only real distinction.

Sour cream, banana and walnut cake

Ingredients:
1 cup of brown sugar
1/2 cup aka 125g of butter
2 eggs 
250ml of sour cream
1 cup of mashed banana or two large bananas
1 2/3rd cup of plain flour
1 teaspoon of baking powder*
1 teaspoon of cinnamon*
1/2 cup of walnuts

*DrH is yelling at me via text message to add that I yolo sprinkle cinnamon and baking powder by sight.
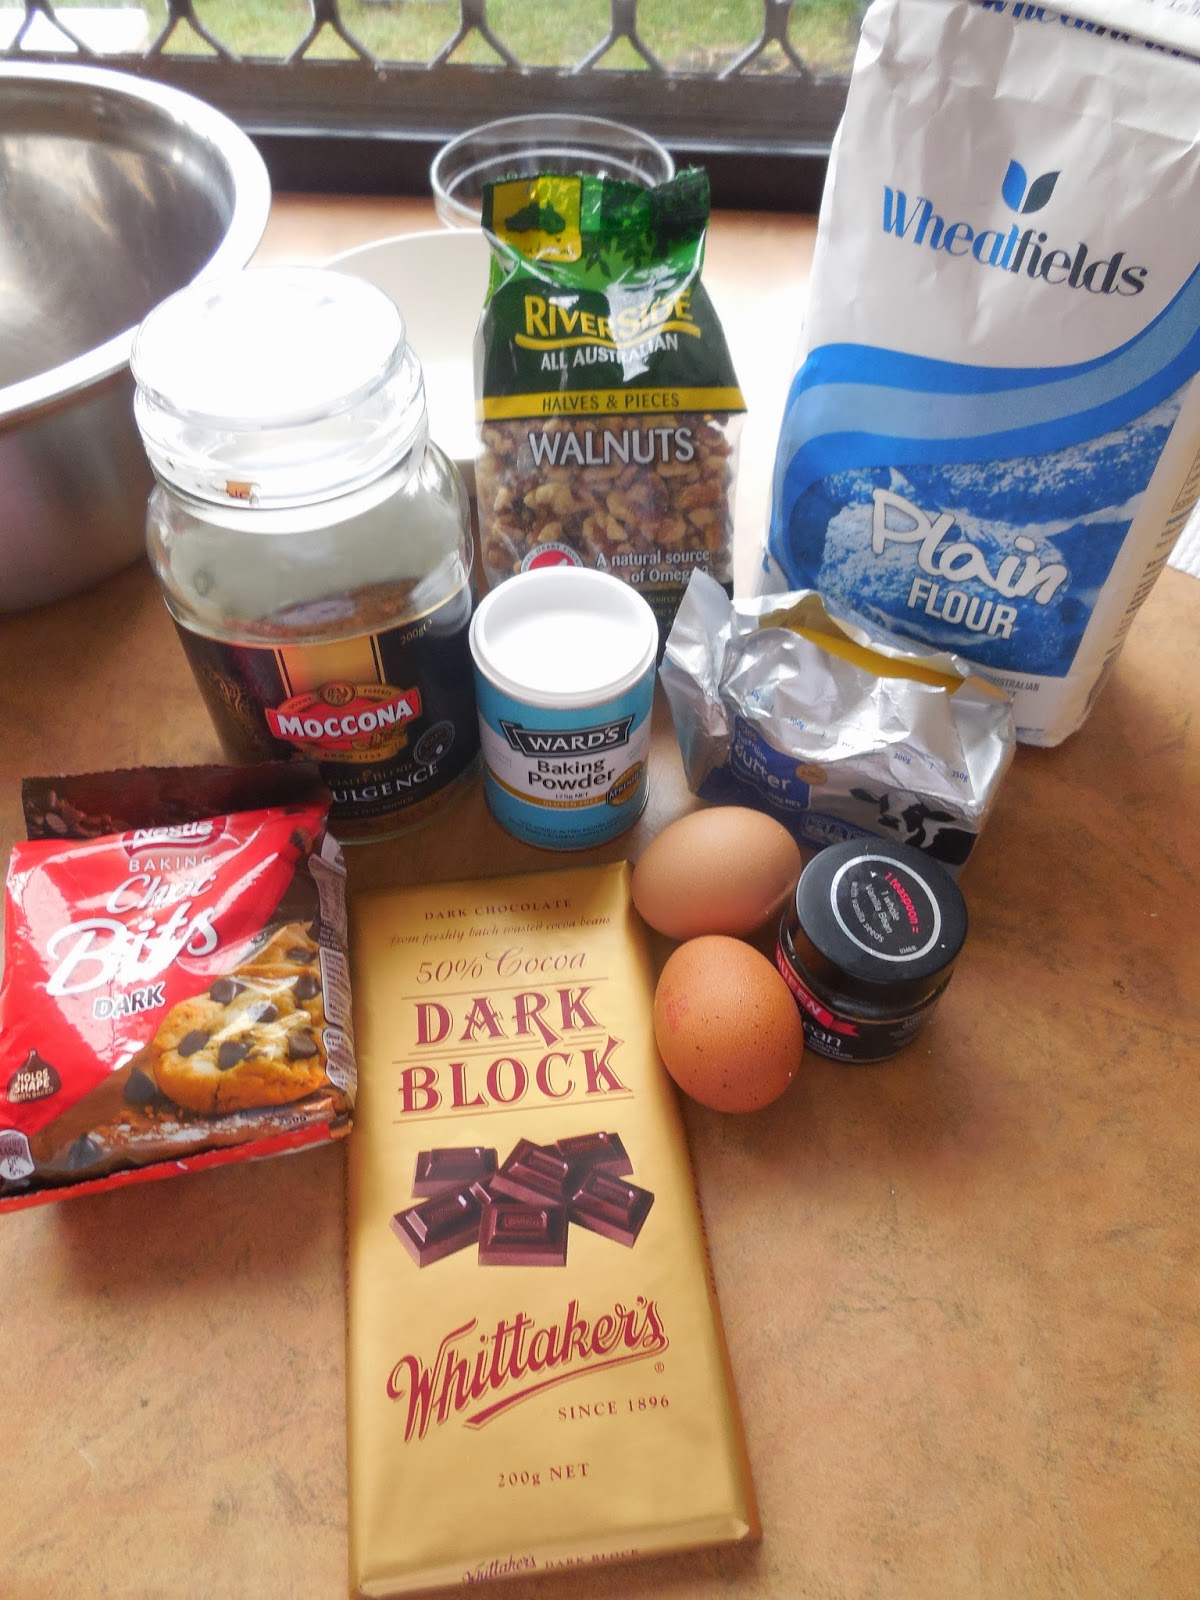
All the things!
1. Set your oven to 160C. Line your favourite baking tray/cake tin, I favour my springform 16cm square tin. Cream your butter and sugar together until fluffy and pale!


Creaming butter and sugar is fun
2. Add in your cinnamon and mix again briefly.


Ahhh cinnamon, so tasty
3. Add your eggs in and mix!


Bright sunny eggs


It suddenly looks super liquid with eggs in
4. Sift in your flour and baking flour and mix!


Mix, mix!
5. Mash up your banana and once again, mix.


If you don't wanna wash up, just whack it in the bowl and mash it
6. Put in the banana and sour cream and mix once again.


So attractive
It gets better?
7. Don't forget to add in your walnuts until just combined. Don't remember last minute like I did haha.


Seriously don't let it get to this stage
8. Bake for about 45-60 minutes until it cooks through and a skewer comes back clean. Allow it at least 10 minutes to cool before slicing it, so it doesn't fall apart.

Wednesday, 19 March 2014

Coffee and walnut brownie

I winged this recipe for a mate's going away party. It was quite well received since it had a good combination of flavours, coffee and walnut, chocolate and coffee, chocolate and walnut, why not all the above?

Coffee and walnut brownie

Ingredients:
200g of dark chocolate
100g of butter
1-2 tablespoons of instant coffee or shots of expresso
2 eggs
1/2 cup of sugar
1/2 cup of chopped walnuts
1/2 cup of plain flour
1 teaspoon of baking powder
1 teaspoon of vanilla bean paste
Hot water


1. Melt the butter and chocolate in a bowl over a saucepan of hot water. Line a brownie tray with baking paper and set the oven to 150C.

I swear I have like five copies of this photo on my blog
2. Allow to cool for about 5-10 minutes, add in eggs, sugar, vanilla bean paste until just combined.

So glossy

3. Dissolve the coffee in bit of hot water and add to the mixture.

Shiny shiny
4. Sift in the flour and mix lightly until fully incorporated.

Nice and thick
5. Mix the walnuts into the brownie mixture or scatter them at the bottom of the pan before the brownie mixture goes on top.

This?

Or this?
6. Bake at 150C for an hour and allow to cool before slicing.

Saturday, 25 January 2014

Matcha Chiffon Cake

Do you know what the most definitive indication of a woman's weight loss is? That one thing that tells you, "geez you've lost a bit recently."

Visible collarbones? Nope.

A thigh gap? Nope.

An arse that defies gravity? Nope.

No periods? That fine anorexia down to conserve body heat? Yes, but that's gone way too far. I'm talking quick fix here, no one drops down to anorexia proportions and goes back up in a week or two.

It's actually a women's breasts that tend to shrink first when losing weight. Breasts are pure fat, so it only makes sense that when the body is lean and mean, the first place to go is the breasts and pretty much nowhere else. Sorry thighs and belly fat, this is a more permanent storage solution for the body, so this is often the last to go.

What does this story have anything to do with matcha chiffon cakes? Well one of the finer points of chiffon cakes is that the lightness is due directly to the huge amount of stiff peaks egg whites used as well as the lack of heavy fat. Chiffon cakes, unlike most cakes, is made without butter and instead only oil, water and a splash of milk are used to moisture to the cake. This makes for a very light, fluffy and delicate flavour rather than the rich buttery flavour you'd associate with most cakes.

With this being said, chiffon cakes are quite plain in flavour and are always flavoured with something else. This recipe is easily adapted to contain other flavours though, like orange zest, lemon zest, pandan, vanilla and whatever else you can think of.

My cakes fell a little flat because I don't have a high cake tin. Since this cake is so light and has no real substance, it needs a high walled cake tin to cling to to support itself. You can buy specially made chiffon cake tins and things but I've never seen one for sale ever. Despite the lack of cake tin, they still had a beautiful rise and were soft and fluffy. This is the recipe I originally used. I just messed with the proportions a bit for lazy baker inside all of us, it still worked.

When I measure out this matcha powder, I normally sift it a few times to get out the tougher bits of tea. I find myself using a fair bit of matcha powder to make this cake but the flavour is delicious. For the neutral flavoured oil, don't use olive oil, it makes the cake have a really odd flavour due to its strong flavour. Vegetable oil is normally my go to for oil in cakes.

Beating stuff into stiff peaks is honestly the hardest part of this cake. Not so hard if you've got a stand mixer, or are willing to wash yours. I did mine the old fashioned way with a wire whisk and did the traditional test of standing it over my head. Jubi drew me a picture because I made this cake once over Skype.


I freaked out several times attempting this


Matcha Chiffon Cake

Uses: unsweet cake for Asians to enjoy.

Ingredients for the cake:
5 large egg yolks at room temperature
3/4 cup of caster sugar
1/3 cup of neutral tasting oil
2 tablespoons of milk
2 tablespoons of water
1 scant cup of plain flour with 2 tablespoons of corn flour well sifted in, aka cake flour
1/4 teaspoon of salt
1 teaspoon of baking powder
25g of matcha green tea powder

Ingredients for the meringue:
5 large egg whites at room temperature
1/2 scant cup of sugar
Pinch of cream of tartar


All the usual suspects
Instructions:
1. Separate your eggs.


I should just reuse this photo constantly
2. Beat your egg yolks and sugar together until pale, thick and creamy.


Same for this photo
3. Start mixing in the oil a little bit at a time, while whipping vigorously. Very much like a mayonnaise. I don't know why I do this, you can just add it all in at once, I found it made only a small different to how fluffy the cake turned out.


Shiny, shiny oil

4. Mix in the water with the sugary mayo mixture.


5. Sift the crap out of your matcha green tea, flour and baking powder. I normally do this about three or four times depending on how lazy I feel. If there are any chunky bits of tea left behind, just throw them out.


One of the many siftings
The colour quickly evens out
6. Mix the matcha/baking powder/flour into the sugar mayo mixture. Start working on the meringue mixture and you will notice the mixture will start to turn a bit greener as the tea infuses.


Shiny/lumpy
7. Time to work on the meringue! Start whipping the egg whites vigorously.


Is this picture upside down?

8. When it hits soft peaks, add in the cream of tartar and start adding the sugar in a teaspoon at a time. Whisk vigorously after each addition.


Dump the sugar in!

9. You will notice the egg whites start to turn nice and shiny after the sugar. Once the egg whites hit stiff peaks, you are done.


This glossy

10. Fold the first third of the meringue into the matcha cake mixture. Fold carefully before folding the rest of the meringue.


Fold it in! Not with a whisk though!


First third!
11. Bake in a high walled 22cm cake tin at 180C for about 40 minutes, this cake doesn't turn golden brown. It really only get pale and springy when pressed down, do the skewer test and you should be sweet.


Last few thirds!


Give it a light tap and smooth out the top

Yeahhh do not use a bundt tin, that's not the same thing at all.


Whats the name of my blog again?
Oh and I didn't bother putting in pictures about the thigh gaps, collar bones or nice arse. Its actually quite NSFW/raunchy considering what I'm looking up, especially when you start venturing into thigh gaps and nice arses. If you need photos, you're already on the internet buddy, check out that stuff in your own time.

Tuesday, 6 August 2013

Fijian Chocolate Cake

I have always wanted to make a really luscious coconut cake, one that was just as delicious as a Bounty bar. I wanted to have chocolate on the outside and soft, moist coconut on the inside. I wanted it to the richest, softest, moistest cake I'd ever seen, so unbelievably rich and full of coconut flavour that you'd be converted even if you didn't like coconut. I found it in this recipe that I found at this website.

 I searched a few different ones to get to this one and what really struck me was the use of a can of coconut cream. Last year, Mrs I., and I wanted to make a chocolate and coconut cake recipe, I found a few different recipes, we went home and made the cakes. I said that we should have a cake off and was pretty sure I'd win. Her daughter actually baked the cake and beat the pants off of me, which is embarrassing because her daughter was nine at the time. I've had one other chocolate and coconut based cake that had coconut milk in it and it was that cake,  the addition of that coconut milk made it so COCONUT. It just screamed coconut, like pure coconut creaminess baked into a cake with the rich subtlety of chocolate to temper it.

The recipe proportions are a bit strange for my liking. Mostly because when I printed out the recipe, for some reason, both the metric and imperial measurements were included. I chopped and changed things a bit and this became what I actually had in my cake in the picture below. I added in some desiccated coconut for the chewiness and I felt like there could've been more eggs added but I left it as is. The colour of my cake isn't as dark as the picture from the original website, but I went by cup measurement rather than weight as suggested.

I'm quite happy with how the cake turned out however, as it was very moist and intensely coconut flavoured. When I poorly attempted to split the warm cake, half of the top layer crumbled away and I ate most of it rather than attempting to piece it back together. I normally never eat my own cake but I couldn't stop eating this one.

Fijian chocolate cake

Uses:  converting people to the wonders of coconut, secretly making everyone have high cholesterol.

Cake ingredients:
210g of self raising flour
2 teaspoons of baking powder
200g of sugar
2 eggs
125g of melted butter
400ml coconut cream, remove 3 tablespoons and top up with milk/water
1/2 cup of desiccated coconut

Not much to it
Icing ingredients:
3 tablespoons of coconut cream, reserved from the cake's coconut cream
150g of softened butter
2 cups of icing sugar
1 cup of flaked/shredded coconut
Lemon juice
 
I forgot to put the icing sugar in this picture.

Instructions for cake:

1. Sift all the dry ingredients, flour, cocoa powder and baking powder, into a large mixing bowl. Add in the desiccated coconut. Line your cake tin and preheat your oven to 180C.


All the dry stuff!
2. Beat the eggs lightly, and pour on top of the flour. Add in the melted butter and the coconut cream.


Plus the wet stuff~
3. Mix vigorously for several minutes.


Makes a cake!
4. Pour into your cake tin and bake in the oven for at least 40-55 minutes. Skewer should come out nice and clean. Allow to cool before attempting icing if desired, otherwise consume immediately.


Well, almost

Instructions for icing
1. Heat a large frying/saucepan on a low medium heat until warm, throw in coconut and stir frequently until evenly golden brown. Set aside to cool.


Be patient!
Ta dah!
2. Cream the butter until pale, soft and fluffy.


Using a whisk is silly fyi.
3. Sift in half the sugar and coconut cream, and mix vigorously until incorporated.

Coconut cream is such an odd grey colour
4. Sift in the remaining sugars slowly, while mixing. Add some lemon juice to lessen the sweetness if required. I used about a quarter of a large lemon.


Buttery
5. Split your cake into two layers and spread a layer of icing in the middle of cake.


Blob!
Please note, cooler cakes are easier to transfer ):
6. Carefully transfer the top back on and ice the sides and top of the cake.


I need to work on my icing skills
7. Press the toasted coconut to the top and sides and serve.


Thank god for coconut eh?

Saturday, 20 July 2013

Flourless Hazelnut and Chocolate Cake

There's a girl named S., at work who is a coeliac, that unfortunately means she cannot tolerate gluten in her diet so when she does eat things containing delicious gluten such as pasta, bread, beer or sausages, she gets bloated, has stomach pain and feels nauseated for days. If she chugged through this intolerance, in the future her intestines would've been so scarred as to cause malnutrition, a severe drop in iron levels, anaemia and she would be at a great risk of developing a lot of different cancers.

In any case, she's a smart girl and when diagnosed, she made the change to gluten free straight away. At the same time, she craves all those delicious gluteny things like doughnuts, cake, a good bread that is tall and all that fun stuff. Whenever we have stuff at work, either as a gift from patients or stuff bought in by the other nurses, she often can't have any because it contains gluten. Its become a lot easier these days but eating gluten free isn't easy.

I took pity on her and decided to make her a cake one day. This was one of the first cakes I baked when I started baking for work, its a very simple five ingredient cake. I got the recipe from Taste.com.  This is basically my go to recipe for chocolate cakes, and I add and change ingredients to it all the time. Its one of those great mix, pour and bake cakes that you can whip up in a flash, its dense, chocolately, very moist and has a great crumbly texture from the hazelnut meal. Somehow its also very light and quite tall for a gluten free cake due to the huge amount of eggs. Every time I bake this, someone asks for the recipe and I always forget to give to them, so Z., and H., here it is. S., for whom the cake was made, doesn't know how to make this cake because she valiantly resists all attempts for me to teach her how to cook.

Flourless Hazelnut and Chocolate Cake

Ingredients:
150g of butter, chopped
200g of milk cooking chocolate, broken up
3/4 cup of sugar
6 eggs
1 1/2 cups of hazelnut meal, sifted


Instructions:
1. Chop up all your chocolate and butter. Melt in a bowl that fits snugly above a boiling saucepan. Have your butter on the bottom so that melts and frequently ladle the butter onto the chocolate. Once melted and glossy, put aside and continue making the rest of the cake.

Melting chocolate in a saucepan is a mistake.

A chunky mistake.

2. Separate your eggs into two different bowls. Line a 22cm cake tin and heat your oven to 150C.

Unskillful separation

3. Add the sugar to the yolks and whip/beat until thick, pale and fluffy.


Yep.

Its the colour of beige!
4. Pour in the chocolate and briefly mix.

Glossy
5. Sift the hazelnut meal onto of the wet mixture. Endure how long it takes, you'll find clumps of hazelnut everywhere which you can break up, you get a bit more air into the mixture and ensures an even mix. When you get to the last 1-2cms of thicker bits, either discard or use in the cake up to you.

Chunky!
6. Beat your egg whites into soft peaks.

This fluffy.

7. Fold 1/3 into the hazelnut chocolate mixture. Fold gently and once incorporated, fold in the other 2/3s gently. 


8. Put into your prepared cake tin and bake at 150C for 40-50 minute until you can poke a skewer through the cake and come up with a few damp crumbs.